The importance of quick loading time is something that does not need to be explained to any website owner.
The loading speed of the website affects massively in the user experience, retention, and SEO factors.
The general rule of thumb of the load time of the webpage is that it should not be more than 3 seconds.
Importance of website speed optimization:
- Reduced load on the web-server
- Better user experience
- Increase in average time spent on the website
- Less traffic bounce
- More user conversion
- Less bandwidth usage
How to test the loading time of your website
There are lots of tools you can use to test the loading time of your website.
If you want to know a detailed report on the loading time of your webpage, you can use Pingdom tools or GTMetrix.
With the help of a few tweaks and improvements, you can drastically improve the speed of the loading time of your website.
Factors you should look out to speed up your WordPress website
1. Choose a reliable web hosting service
Anybody who is not particularly knowledgeable in web hosting might be tempted to use shared web hosting because of features such as unlimited bandwidth and disk usage space at a cheap price.
However, the shared web hosting comes with a drawback. It is shared among lots of websites, so any surge in traffic or usage in their website can cause your website to slow down or cause downtime frequently.
The wiser decision for WordPress websites would be to use Virtual private hosting.
2. Optimize image sizes
The larger the size of the images, the longer and more resources need to be loaded.
Keep in mind – You don’t need high-resolution images. If the image is clear, then it’s perfect. There are many plugins available to reduce the size of the images.
You can use tinypng.com. There’s also a free plugin in WordPress – Imagify, that automatically optimizes the image after it’s uploaded to your website.
3. Keep your PHP updated
Updating your website to the latest version will make your website more secure and better performance.
Websites report experiencing an increase in performance by up to 3 or 4 times faster than older version by updating the PHP.
4. Minify / Combine Javascript and CSS files
Minification means removing all of the unnecessary characters such as comments, white spaces in coding.
Combining Javascript and CSS files in a single request hugely reduces the number of HTTP requests that the browser makes.
While both can be done manually, you can do it with the help of CDN and plugins.
5. Only keep necessary plugins
Plugins load different codes on your website and they can cause your website to load slower.
That’s why it’s necessary to get rid of the outdated, unnecessary plugins and the ones that provide the same function.
6. Choose a good WordPress theme
Lots of websites choose to use themes that are flashy with lots of features and widgets.
More does not always mean better, and flashy does not mean attractive.
A minimalistic theme with clear design, good coding, and just enough features is perfectly fine.
7. Enable caching
There are different pages such as blog posts, knowledge base, etc, on the websites, that don’t need to show the updated and different content every time the user revisits the website.
Cache stores those content in local folder in the browser, so the next time the user visits the page, the content is fetched directly from the local folder rather than the server. It means the page is loaded faster on the client-side and resources are saved too.
8. Use Content Delivery Network
If you’ve got visitors from all around the world, using CDN is the quickest and simplest way to speed up your site to your visitors. Using CDN also adds a security layer to your website.
Cloudflare and KeyCDN are the most popular CDN providers while WP Rocket plugin also provides custom CDN service powered by the CDN provider -Stackpath.
9. Prefetch DNS requests
If your website is using external resources such as youtube videos, google fonts, etc., you can prefetch them on your website with the help of different plugins.
As per the name, Prefetching DNS requests prefetches the origin domain name even before the user even clicks the link. It does that by presuming what the user is gonna click.
**Keep external files on your page to as minimum as possible.**
10. Enable lazyload
When you enable lazyload, at first above-the-fold content is loaded, and as the viewer is scrolling down, the relevant content is loaded.
Lazyload provides better user experience, saves the user bandwidth, and speeds up page load time.
11. Reduce redirects
When you move your page from one URL to another, you have to use redirection to ensure the visitors land on the intended page that click on the old URL. Oftentimes, the same page is redirected more than once to reach the destination page.
Redirection is an extra step. The more links the user has to go through, the more time it takes to land on the desired page. That’s why you should always keep it to single redirect.
12. Regularly clear WordPress database
Cluttered WordPress database means there are lots of files in the database that you no longer need, which means those files occupy extra space and the user experience is affected as well.
Fewer database calls mean faster loading.
The one-stop solution
There are many functions here that you can do yourself with the help of plugins or manually.
There are many plugins that do specific functions such as lazyload, caching static resources, prefetching files, minification and combination of Javascript and CSS files, and many others.
If you don’t want to install multiple plugins, or don’t have the expertise or time to do them all by yourself, there’s a one-stop solution that does all of these functions – WP Rocket plugin.
A while ago, we installed WP Rocket for our website optimization, and we were so impressed by it that we concluded it deserved a special mention.
All of those advanced functions are built in WP Rocket that it alone can do all of the functions and improve your website performance.
Don’t just take our word for it. Read the reviews and other content to speed up the WordPress website, you’ll be astonished to see how highly regarded the WP rocket is.
There’s only one downside of using WP Rocket – it’s a paid plugin.
But you’ve probably listened to the quote by Joker from “The Dark Knight” – If you are good at something, never do it for free.
WP- Rocket is the best we’ve used till now, and if you add the instant support that you get with WP Rocket, there’s no one to match it.
How to use WP Rocket
Go and try it now.
After you purchase and download the WP rocket plugin, go to plugins> add new> upload plugin. Then, choose the WP rocket file plugin that you downloaded and install it. After you install it, remember to activate the plugin.
After you activate the plugin and allow permissions to it, you can go to the WP Rocket settings from settings>WP Rocket.
Note: Before you make any drastic changes, be sure to create a back-up of your website. If your website crashes due to the changes, you can quickly get your website up and running.
Different setting options on WP Rocket:
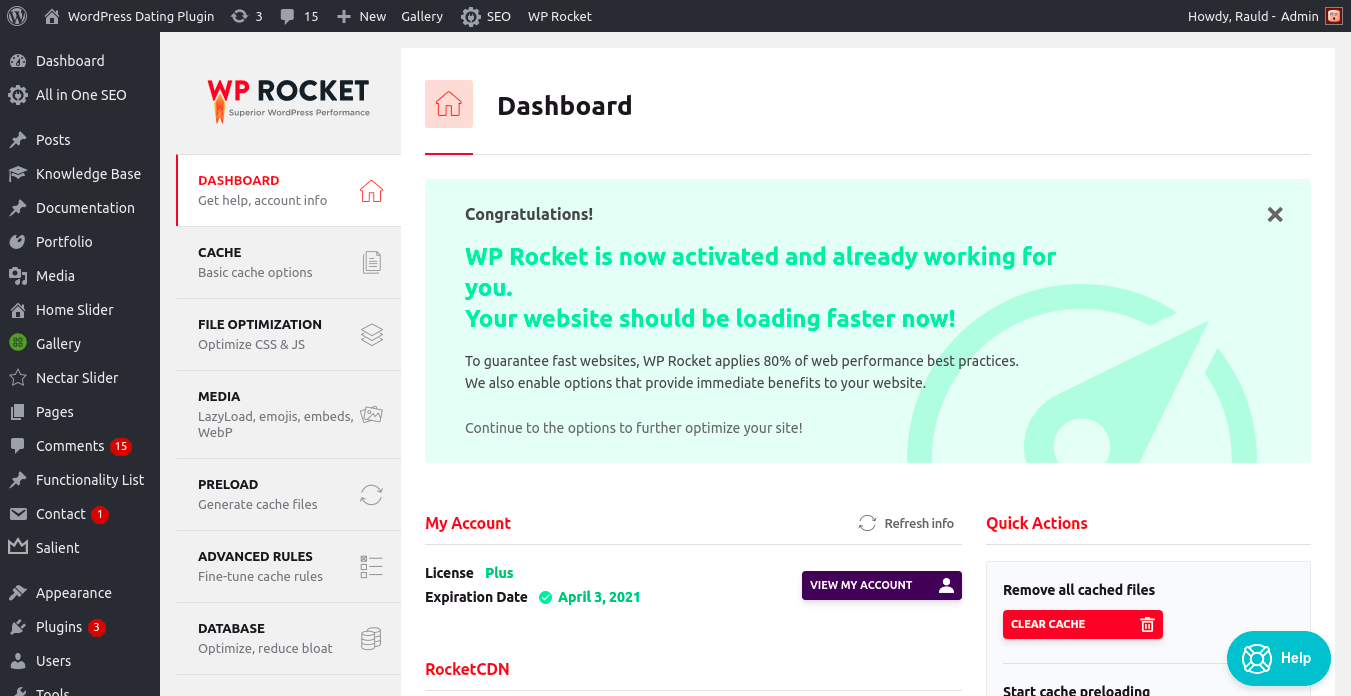
1. Dashboard
Immediately on the dashboard, you can see the notice that WP Rocket is activated and working. There are quick actions such as remove all cached files, start cached preloading and purge OPcache content.
2. Cache options
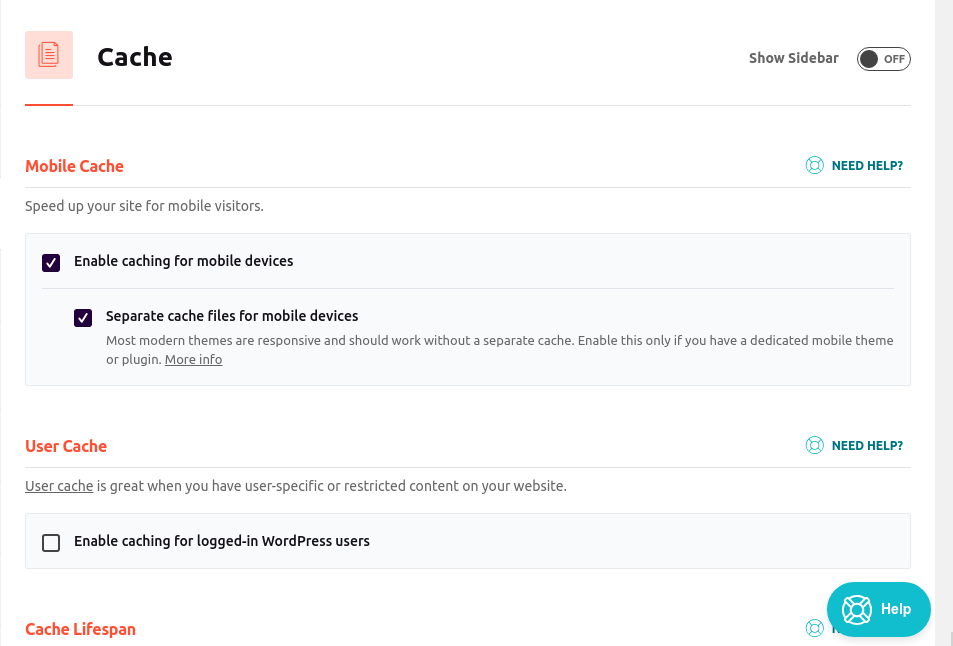
- Mobile cache – Enabling mobile cache options speeds up webpage for mobile visitors
- User cache – Useful if you have regular logged-in visitors and feed personalized content to them.
- Cache lifespan- After the designated time period, the cache will be deleted and the content will be generated directly from your server to the visitors.
Cache lifespan setting does not wait for designated time period to expire to load new content. If you update the content of the page, it will update right away.
If you enable preloading, it will automatically preload the content and store cache. [ so smooth, right?]
3. File Optimization
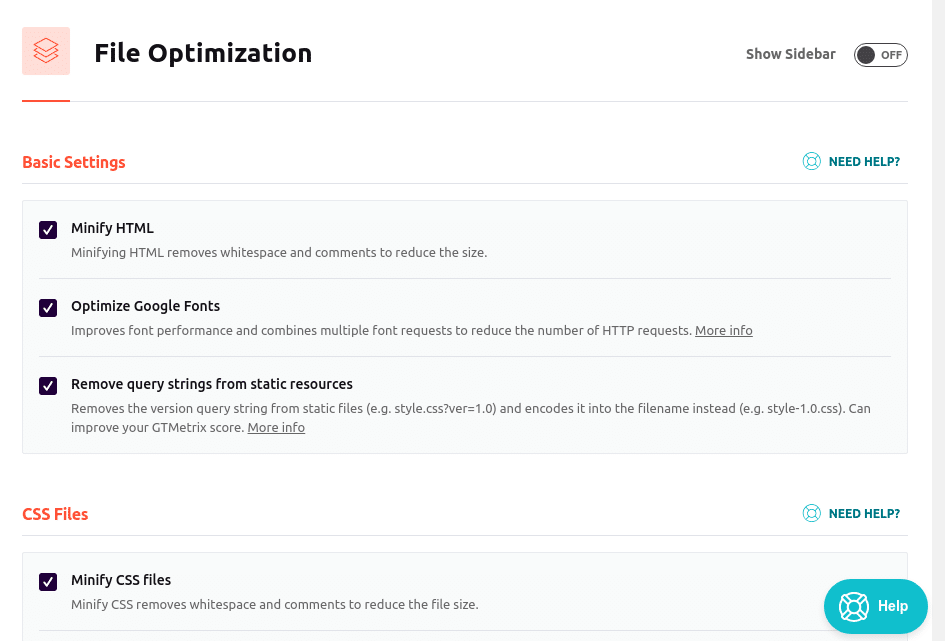
Basic settings– Options to Minify HTML, optimize Google fonts, and remove query strings from static resources.
CSS Files setting – Options to Minify CSS files, combine CSS files, optimize CSS Delivery
JavaScript Files setting – Options to remove jQuery Migrate, minify JavaScript files, combine JavaScript files, load JavaScript deferred, and enable safe mode for jQuery for deferred JS.
You can exclude specific CSS and Javascript files on the field provided by WP Rocket.
4. Media
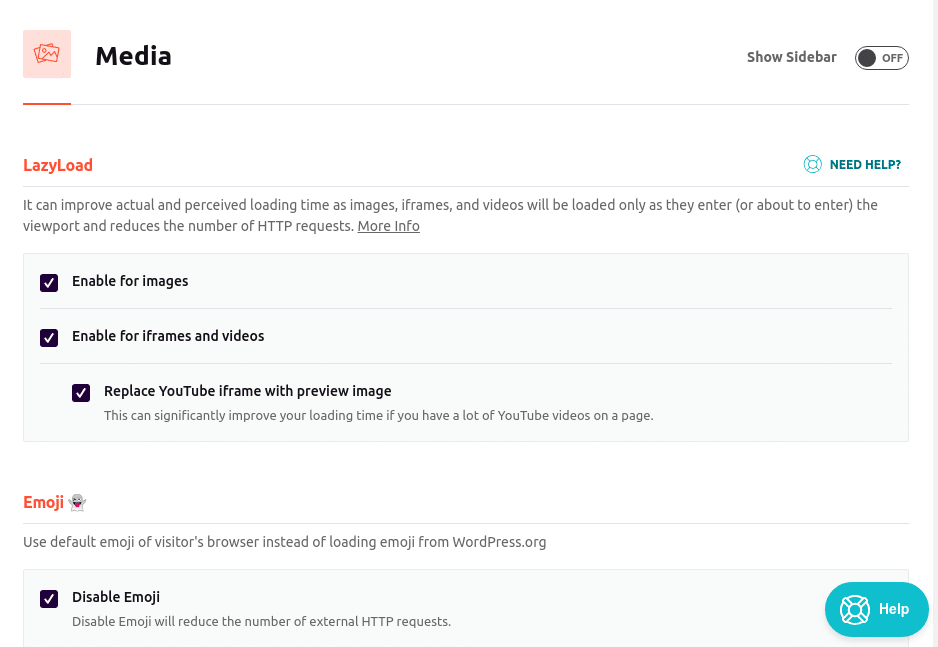
You can disable emojis and WordPress embeds that will prevent embedding content from your site and from other sites on your site. (You can whitelist sites that you want to embed from)
If you use webP, you can enable WebP Caching as well. [WebP is an image format developed by Google that supports lossy and lossless compression]
5. Preload
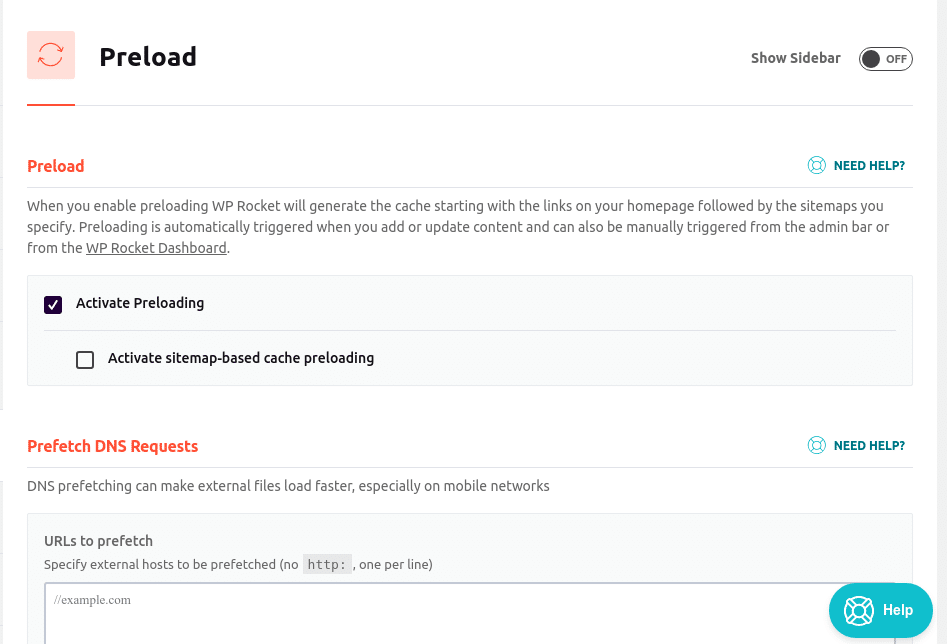
With the Prefetch DNS request setting,you can specify external URLS to prefetch, which will make those external files load faster.
6. Advanced Rules
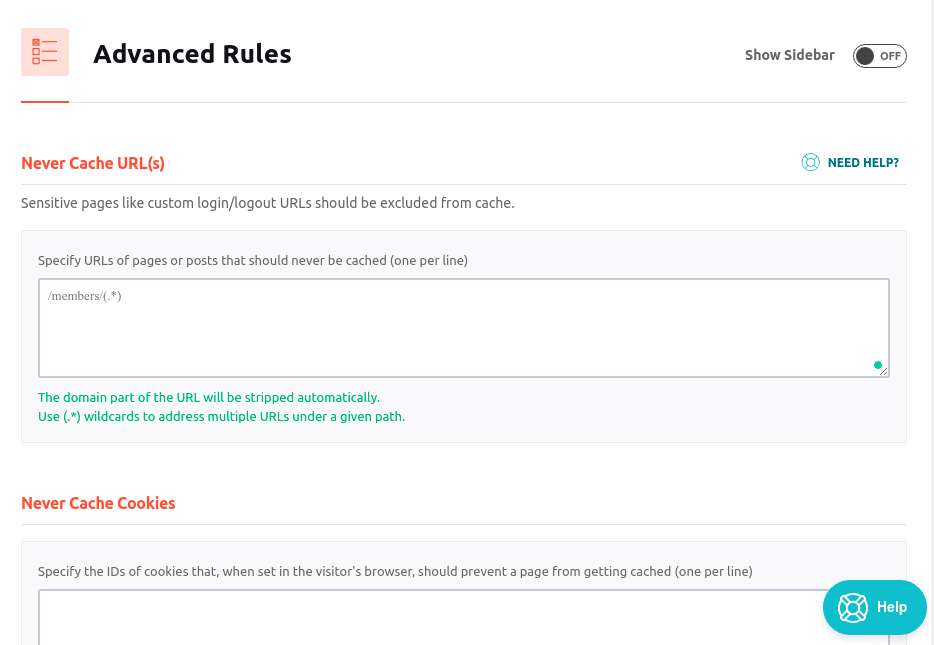
a.Never Cache URL – URLs that you want to exclude from cache
b. Never Cache Cookies– cookie IDs that you never want to cache
c. Never Cache User Agent – User agent strings to which the pages should be directly loaded from the server.
d. Always Purge URL – URLs whose cache is immediately removed whenever any post or page is updated.
e.Cache Query String – WP Rocket does not cache pages with query strings. This setting enables you to force caching for specific GET parameters.
7. Database
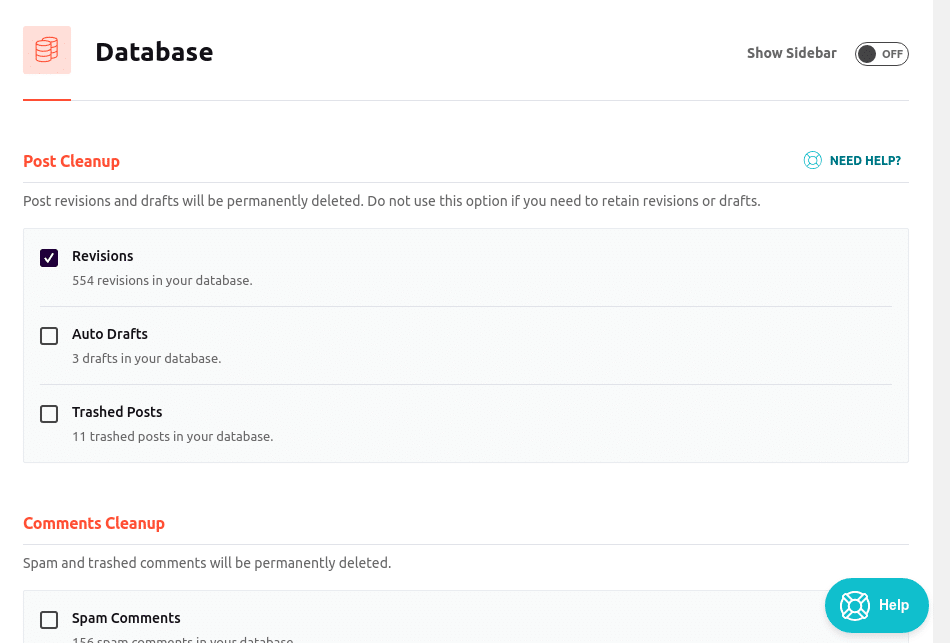
Database setting lets you clear up all the unnecessary files such as post revisions, auto drafts, trash posts, spam comments, trashed comments, transients clean up, and database cleanup. You can even schedule Automatic cleanup.
Note: Be sure to create a backup before you clean your database.
8. CDN
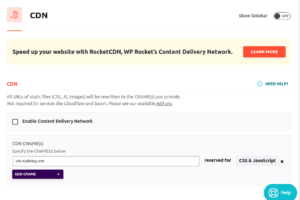
If you use Cloudflare, WP Rocket has an add-on for integrating Cloudflare CDN.
You can also exclude specific URLs from CDN service.
9. Heartbeat
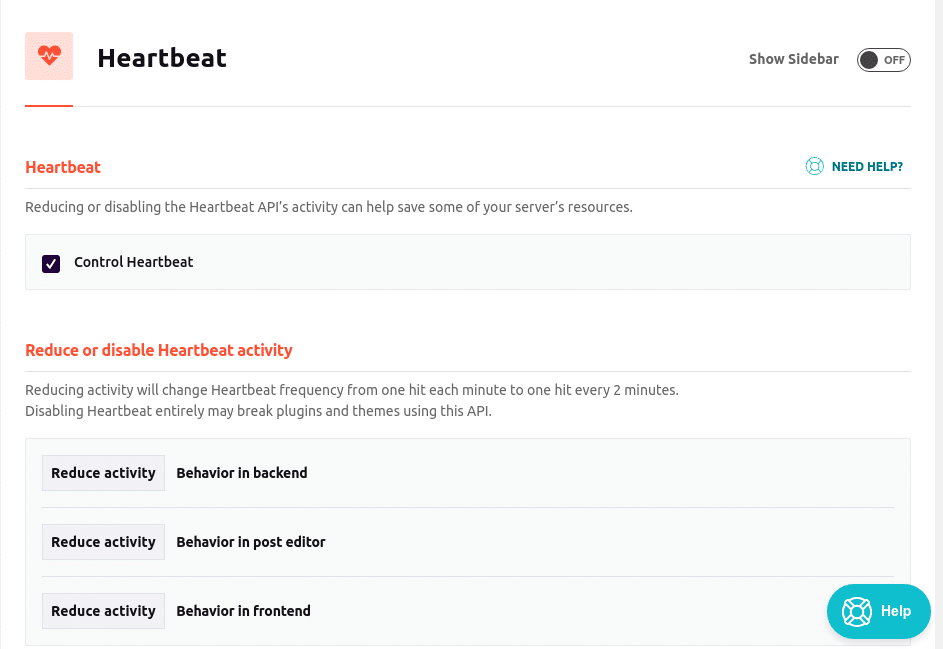
The API in your website regularly checks with the server to find out if there are any changes in data. This process is called Heartbeat. Increasing the interval between heartbeats saves your resources.
You can disable Heartbeat if you think it’d be appropriate for you. However, we should warn you – Disabling Heartbeat could affect the functionality of plugins and themes that rely on it.
10. Add-ons
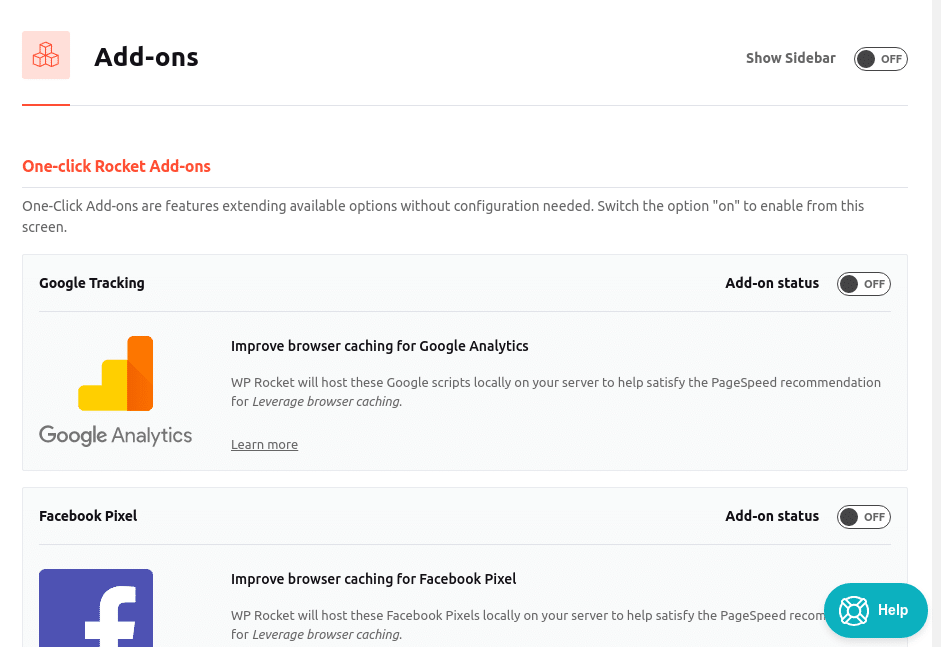
It also provides add-ons for integrating Cloudflare, a CDN provider, and Sucuri, a website security & protection platform.
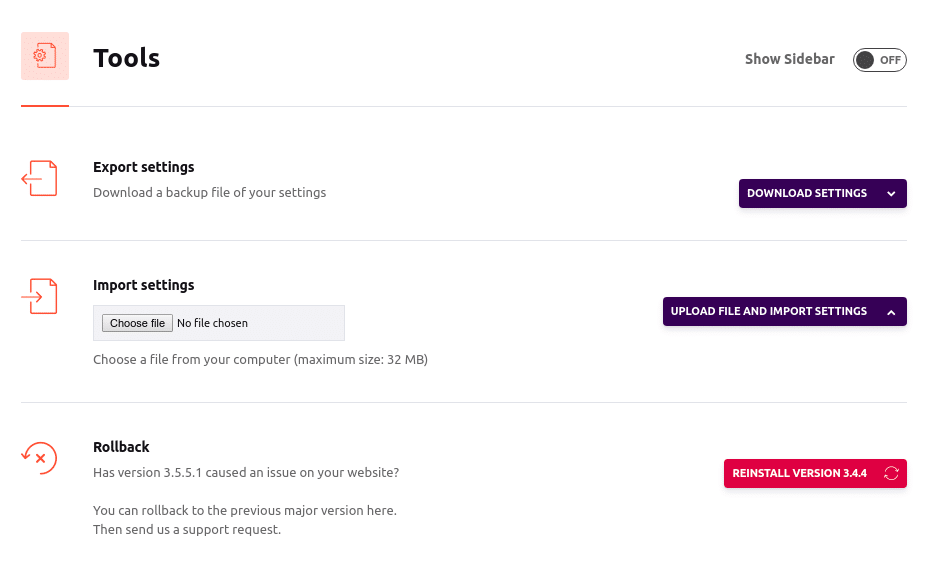
11. Tools
12. Tutorials
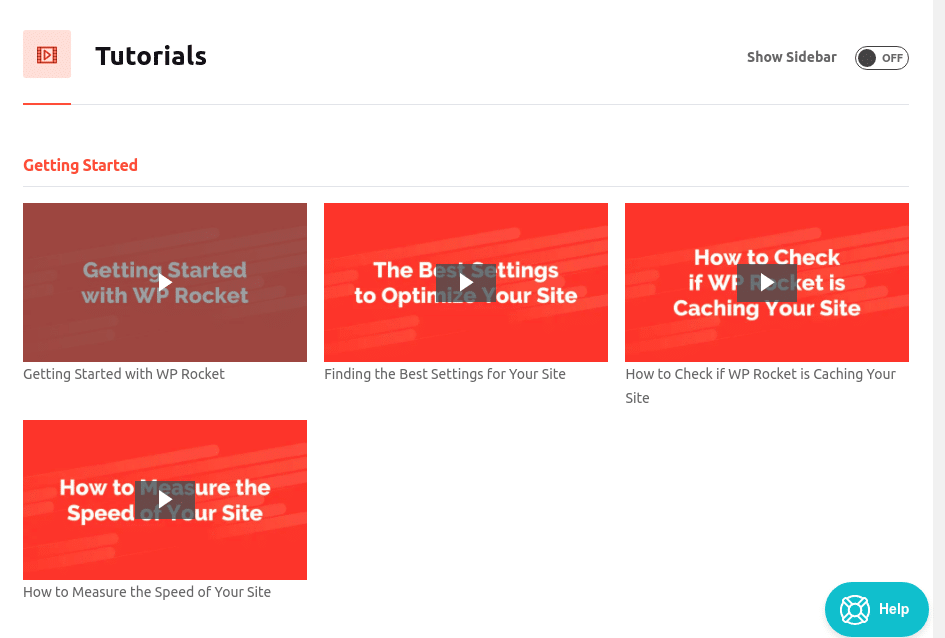
But if you need any help, you can navigate to the tutorials section and learn how to work around it.
If you still have any problems, the responsive support team is always there for you.
Lastly,
If you are not satisfied with the performance of WP Rocket- which we are confident won’t happen -you can request a refund within 14 days of purchase, and they will provide you a refund.