This guide walks you through the steps to configure the WPDating Google Login add-on, including how to obtain your Google Client ID and Client Secret, and set them up in your WordPress site.
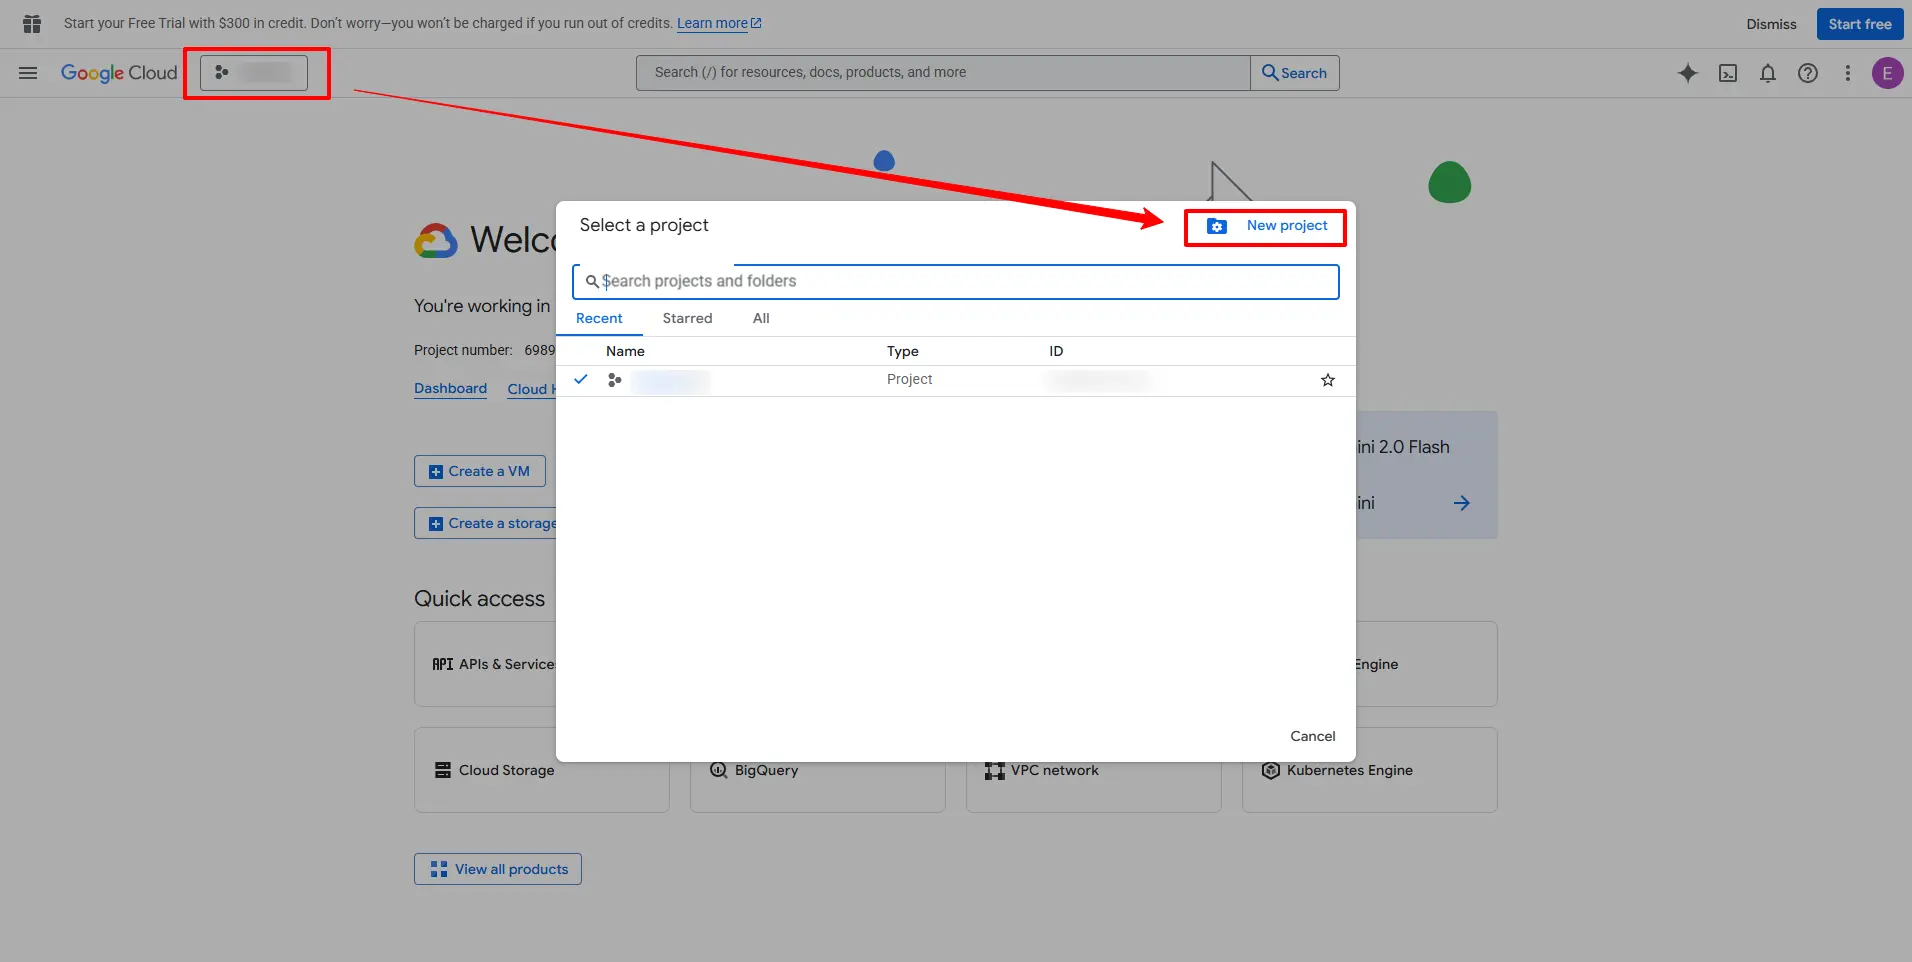
Step 1: Create a Google Cloud Project
-
Visit the Google Cloud Console.
-
Click the project dropdown at the top and select “New Project”.

-
Enter a project name (e.g., “WPDating Google Login”) and click “Create”.
-
Wait for the project to be created and select it from the dropdown.
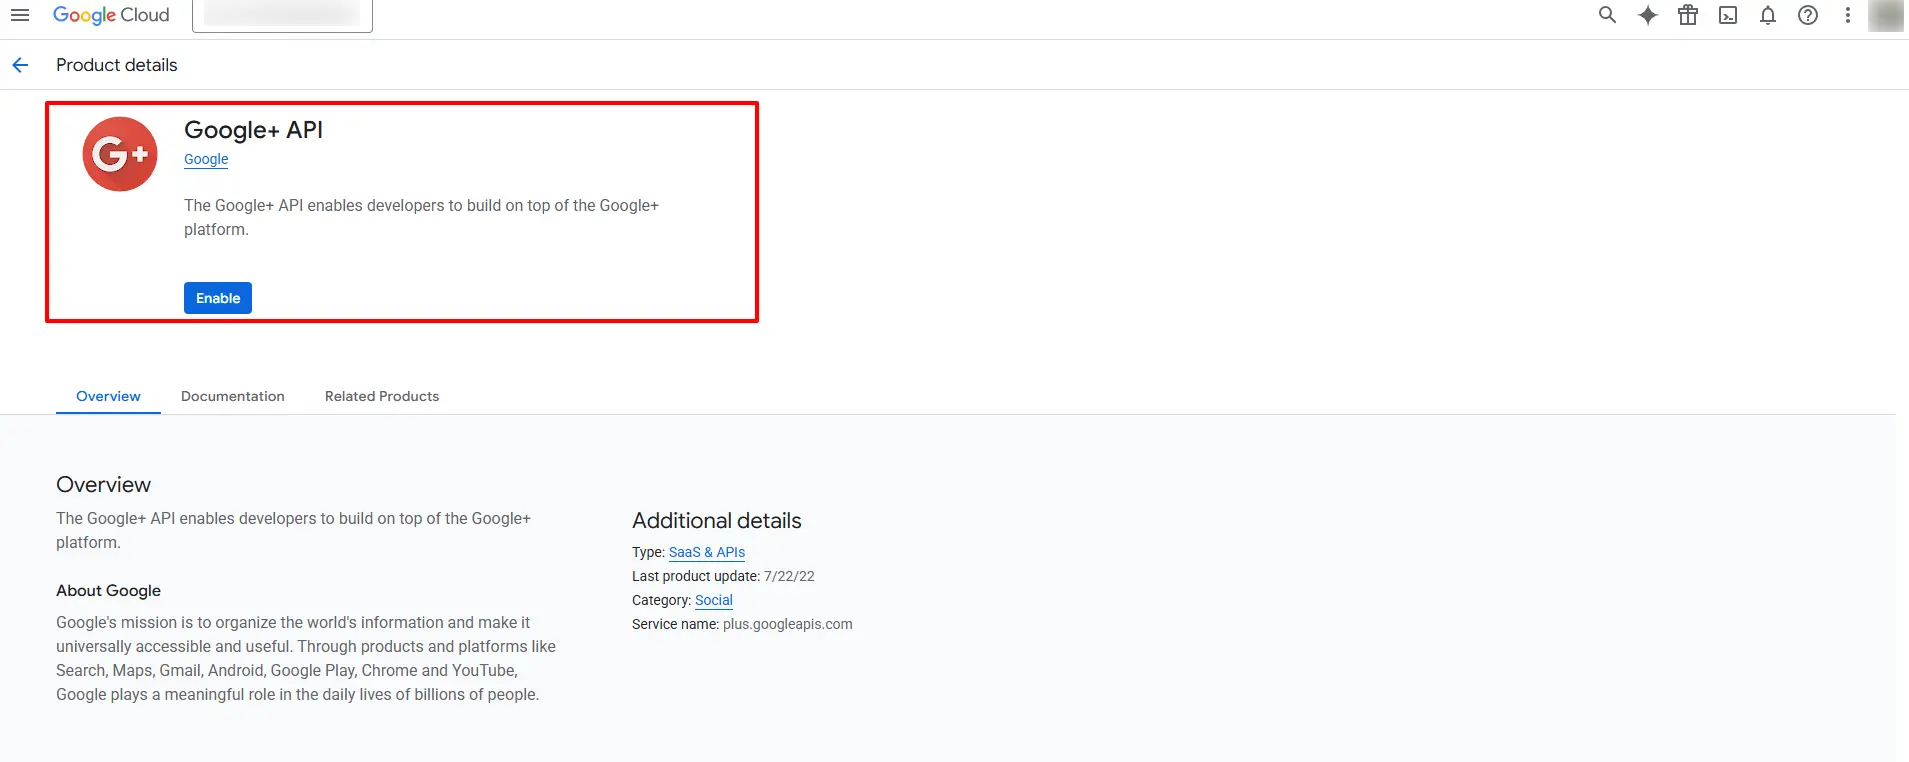
Step 2: Enable the Google OAuth API
-
In the left sidebar, navigate to APIs & Services > Library.
-
Search for “Google OAuth API” or “Google+ API”.
-
Click on the appropriate API and then click “Enable”.

Step 3: Configure the OAuth Consent Screen
-
Go to APIs & Services > OAuth consent screen.
-
Choose “External” as the user type (unless you’re using a Google Workspace account) and click “Create”.
-
Fill in the required fields:
-
App name: e.g., My Dating Site
-
User support email: your support email
-
Developer contact email: your email address
-
-
Click “Save and Continue”.
-
Under scopes, add:
- profile
- openid
-
Click “Save and Continue”.
-
(Optional) Add test users if needed.
-
Click “Save and Continue”, then “Back to Dashboard”.
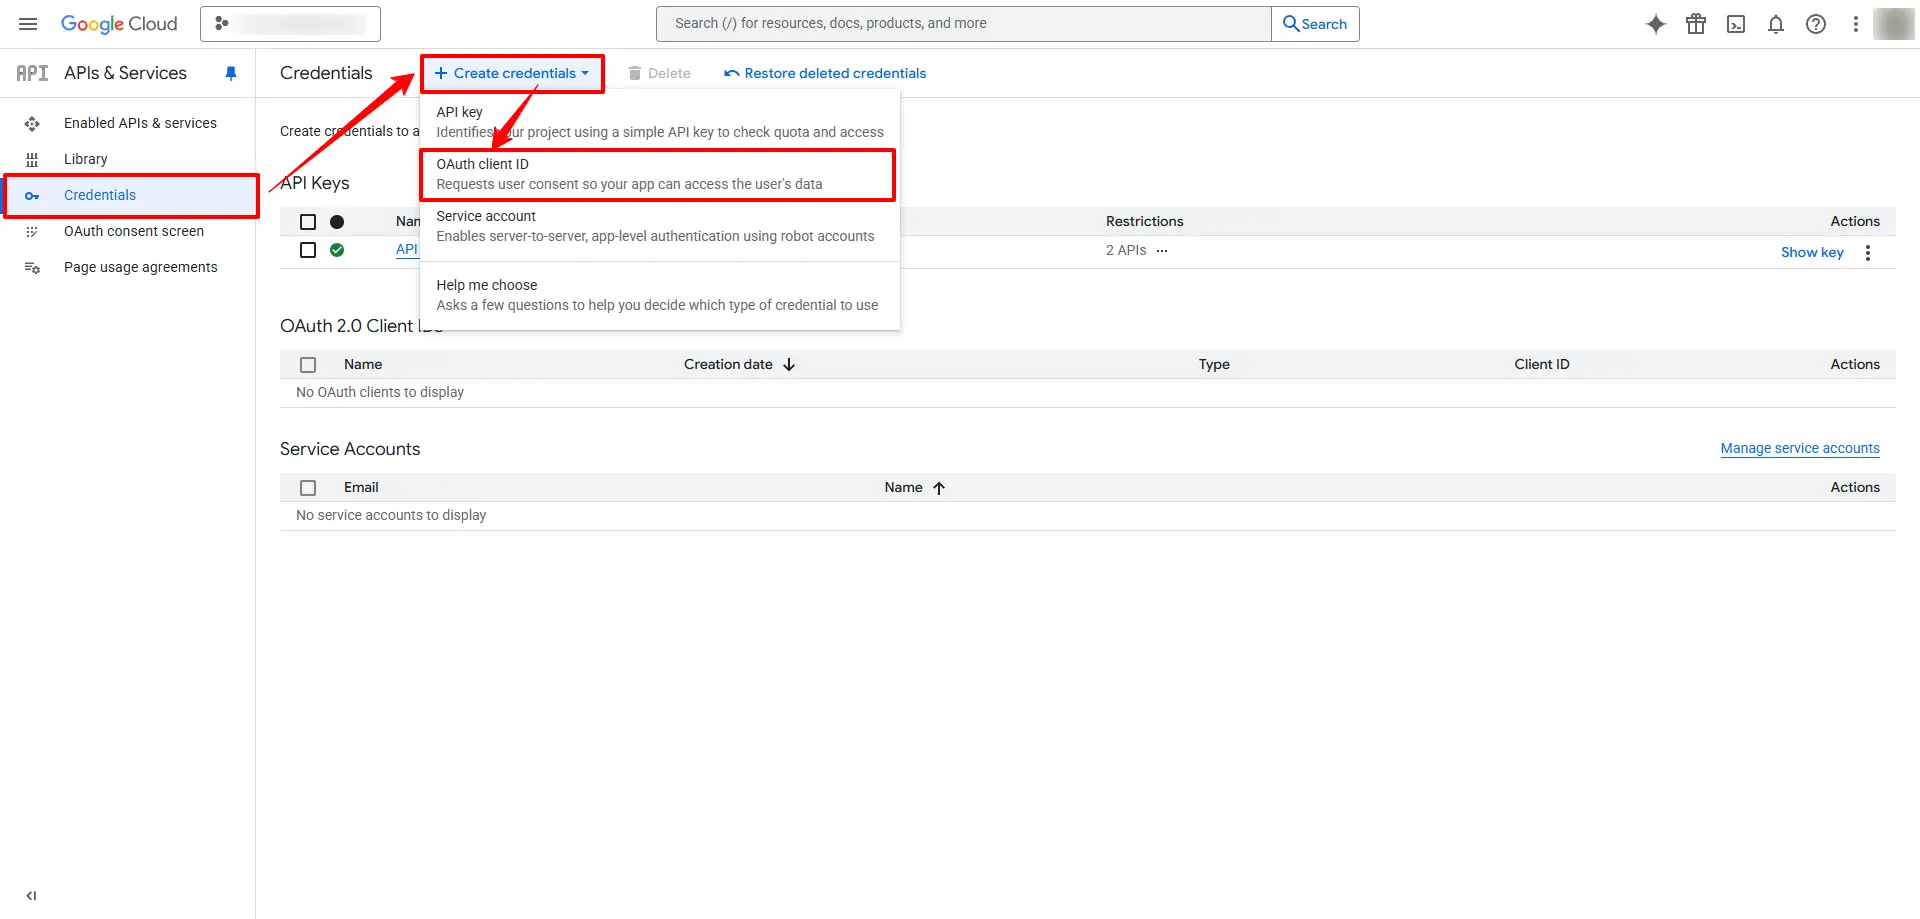
Step 4: Create OAuth Credentials
-
Navigate to APIs & Services > Credentials.
-
Click “Create Credentials” > “OAuth client ID”.

-
Under Application Type, select “Web application”.
-
Provide a name (e.g., “WPDating Website Login”).
-
Configure the following:
-
Authorized JavaScript origins:
https://yourdatingsite.com -
Authorized redirect URIs:
https://yourdatingsite.com/members?wpdating-google-api=login-callback
-
-
Click “Create”.
-
A pop-up will display your Client ID and Client Secret. Copy these for use in your WordPress configuration.
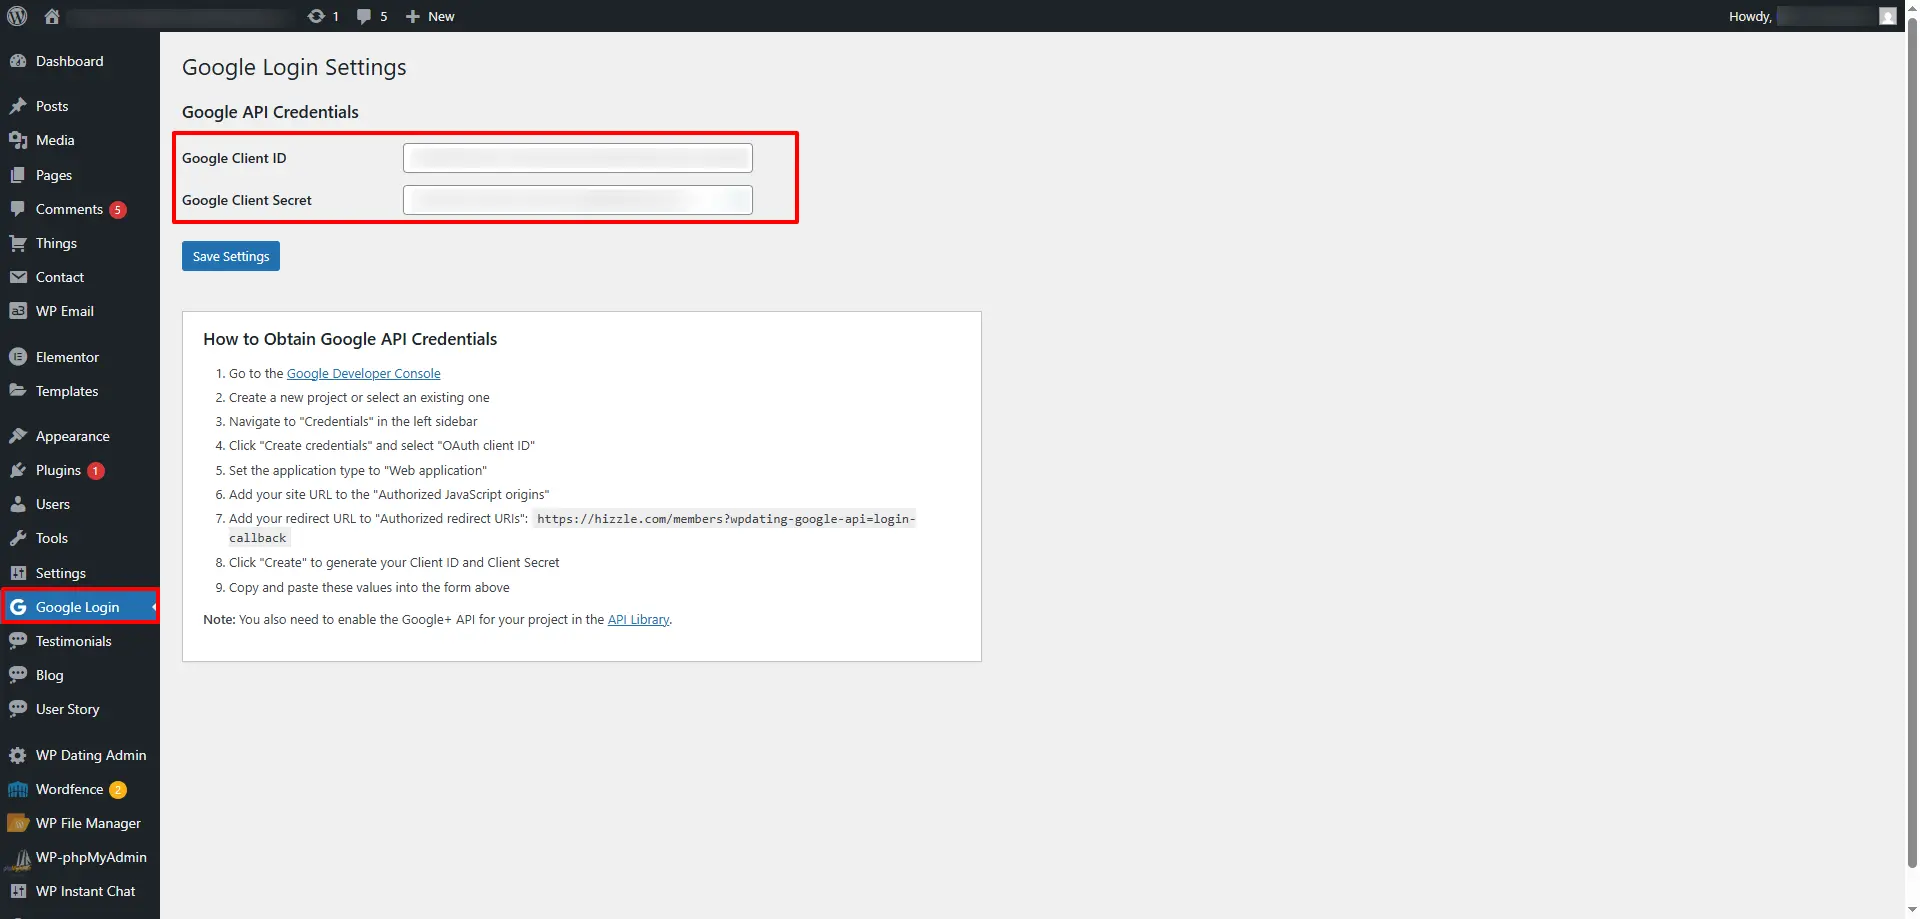
Step 5: Configure the Plugin in WordPress
-
Log in to your WordPress admin dashboard.
-
Navigate to “Google Login” in the sidebar.
-
Enter the Client ID and Client Secret obtained from the Google Cloud Console.
-
Click “Save”.
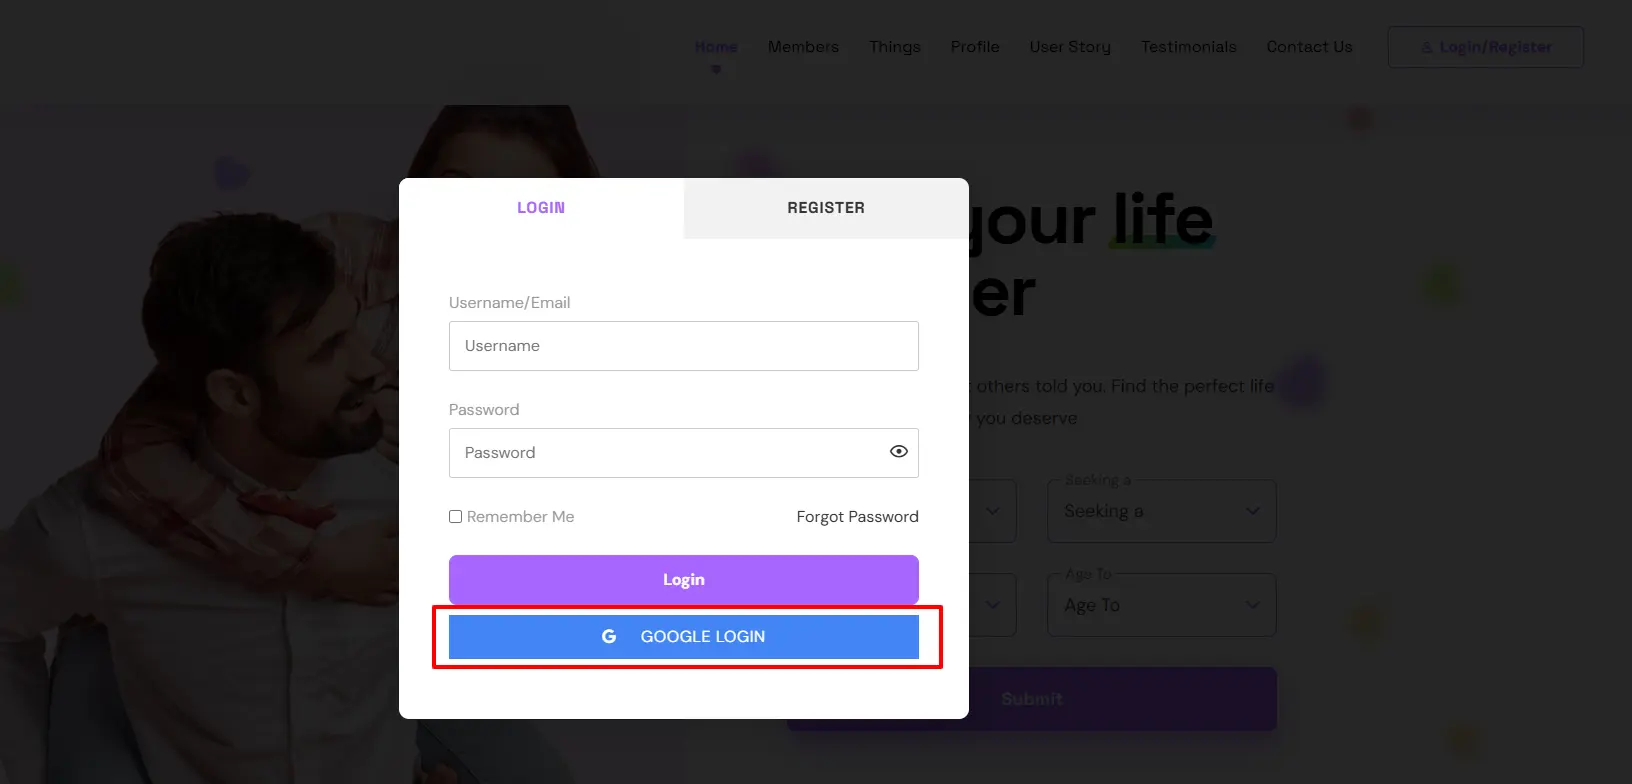
Step 6: Test the Integration
-
Log out of your WordPress site.
-
Visit the login page.
-
You should now see a “Login with Google” button.
-
Click the button and verify that the login process completes successfully.

Troubleshooting Common Issues
Google Login Button Not Appearing
Make sure the WPDating core plugin is active. Ensure the Client ID and Client Secret are saved correctly in the plugin settings.
Invalid Client Error
Double-check that the Client ID and Secret are correctly entered. Confirm the redirect URI matches exactly what’s in the Google Cloud Console.
Redirect URI Mismatch Error
Ensure the redirect URI in Google Cloud Console exactly matches: https://yourdatingsite.com/members?wpdating-google-api=login-callback
Support Resources
If you encounter any issues during setup or implementation, please contact: WPDating Support: Submit a ticket